Top 10 starter tips for calf feeders
23. Dezember 2021 — Calf Feeding, Products, Calf feeders — #CalfExpert #Installation #Service #Top 10 #Calf feeder
Planning and commissioning of CalfExpert feeders
The most important things to consider when setting up the CalfExpert are
A new calf feeder is intended to make your work easier and to support healthy calf rearing. However, new technology always brings questions with it that need to be answered. This blog summarises the most important information so that you are well prepared when you start working with your CalfExpert feeder. And even experienced users are sure to find one or two helpful tips.
This article is about
-
1. Prepare electricity, water, sewage and data lines
-
2. Milk pipes and power supply to the HygieneStation
-
3. Plan the right group size
-
4. Planning the allocation of calf groups
-
5. Professional installation by an H&L service partner
-
6. Calibration of the calf feeder
-
7. Setting the feeding curve
-
8. Training calves
-
9. Cleaning and maintenance
-
10. Animal checks and interpreting alarm lists
1. Prepare electricity, water, sewage and data lines
A professionally installed and fused socket should be located near the calf feeder. The technical requirements for this can be found in the installation instructions and the operating instructions for the CalfExpert feeder.
The water connection also needs to be installed as close as possible to the location of the calf feeder. You should consider the following things when it comes to the water supply:
- A water filter needs to be fitted, as impurities in the water can interfere with valves and other technical components in the feeder.
- High levels of iron and calcium in the water can cause long-term damage to the boiler and other technical components. In these cases, it is worth thinking about fitting a descaling and de-icing system to the farm's water supply. This also has advantages for drinking water, because the animals are exposed to fewer contaminants in their drinking troughs.
- If there is a risk of frost, it is important to ensure that the water supply to the calf feeder is never interrupted. Short hoses, insulation and even hose heating can ensure uninterrupted operation of the feeder in winter.
Waste water pipes need to be installed at all feeding points, as the CalfExpert discharges drinking residues and cleaning water at the HygieneStations. Please refer to the information in the installation instructions for the CalfExpert with HygieneStation for their exact position and dimensions.
It would be ideal if a drainage channel could also be installed in the standing area under the HygieneStation to ensure that urine and other moisture can be quickly drained away. This reduces the germ load in this area enormously.
It is useful to connect the CalfExpert to the Internet in order to be able to manage it remotely. You can either use a LAN cable connection or connect it to your Wi-Fi network. So make sure you have an appropriate Internet connection before you start preparing the calf barn.

2. Milk pipes and power supply to the HygieneStation
It makes sense to run the milk hoses and cables to the feeding stations directly to the HygieneStations through empty pipes so that they do not run across the feed table. The use of empty pipes is advisable, especially if the stations are located some distance away from the CalfExpert.
Ideally, you could place the feeder over a small pit with a grate. 4 empty pipes would then run from the pit straight to the stations. This pit can also serve as a central drain, where the drains (see point 1) from the individual HygieneStations run back off into the pit.
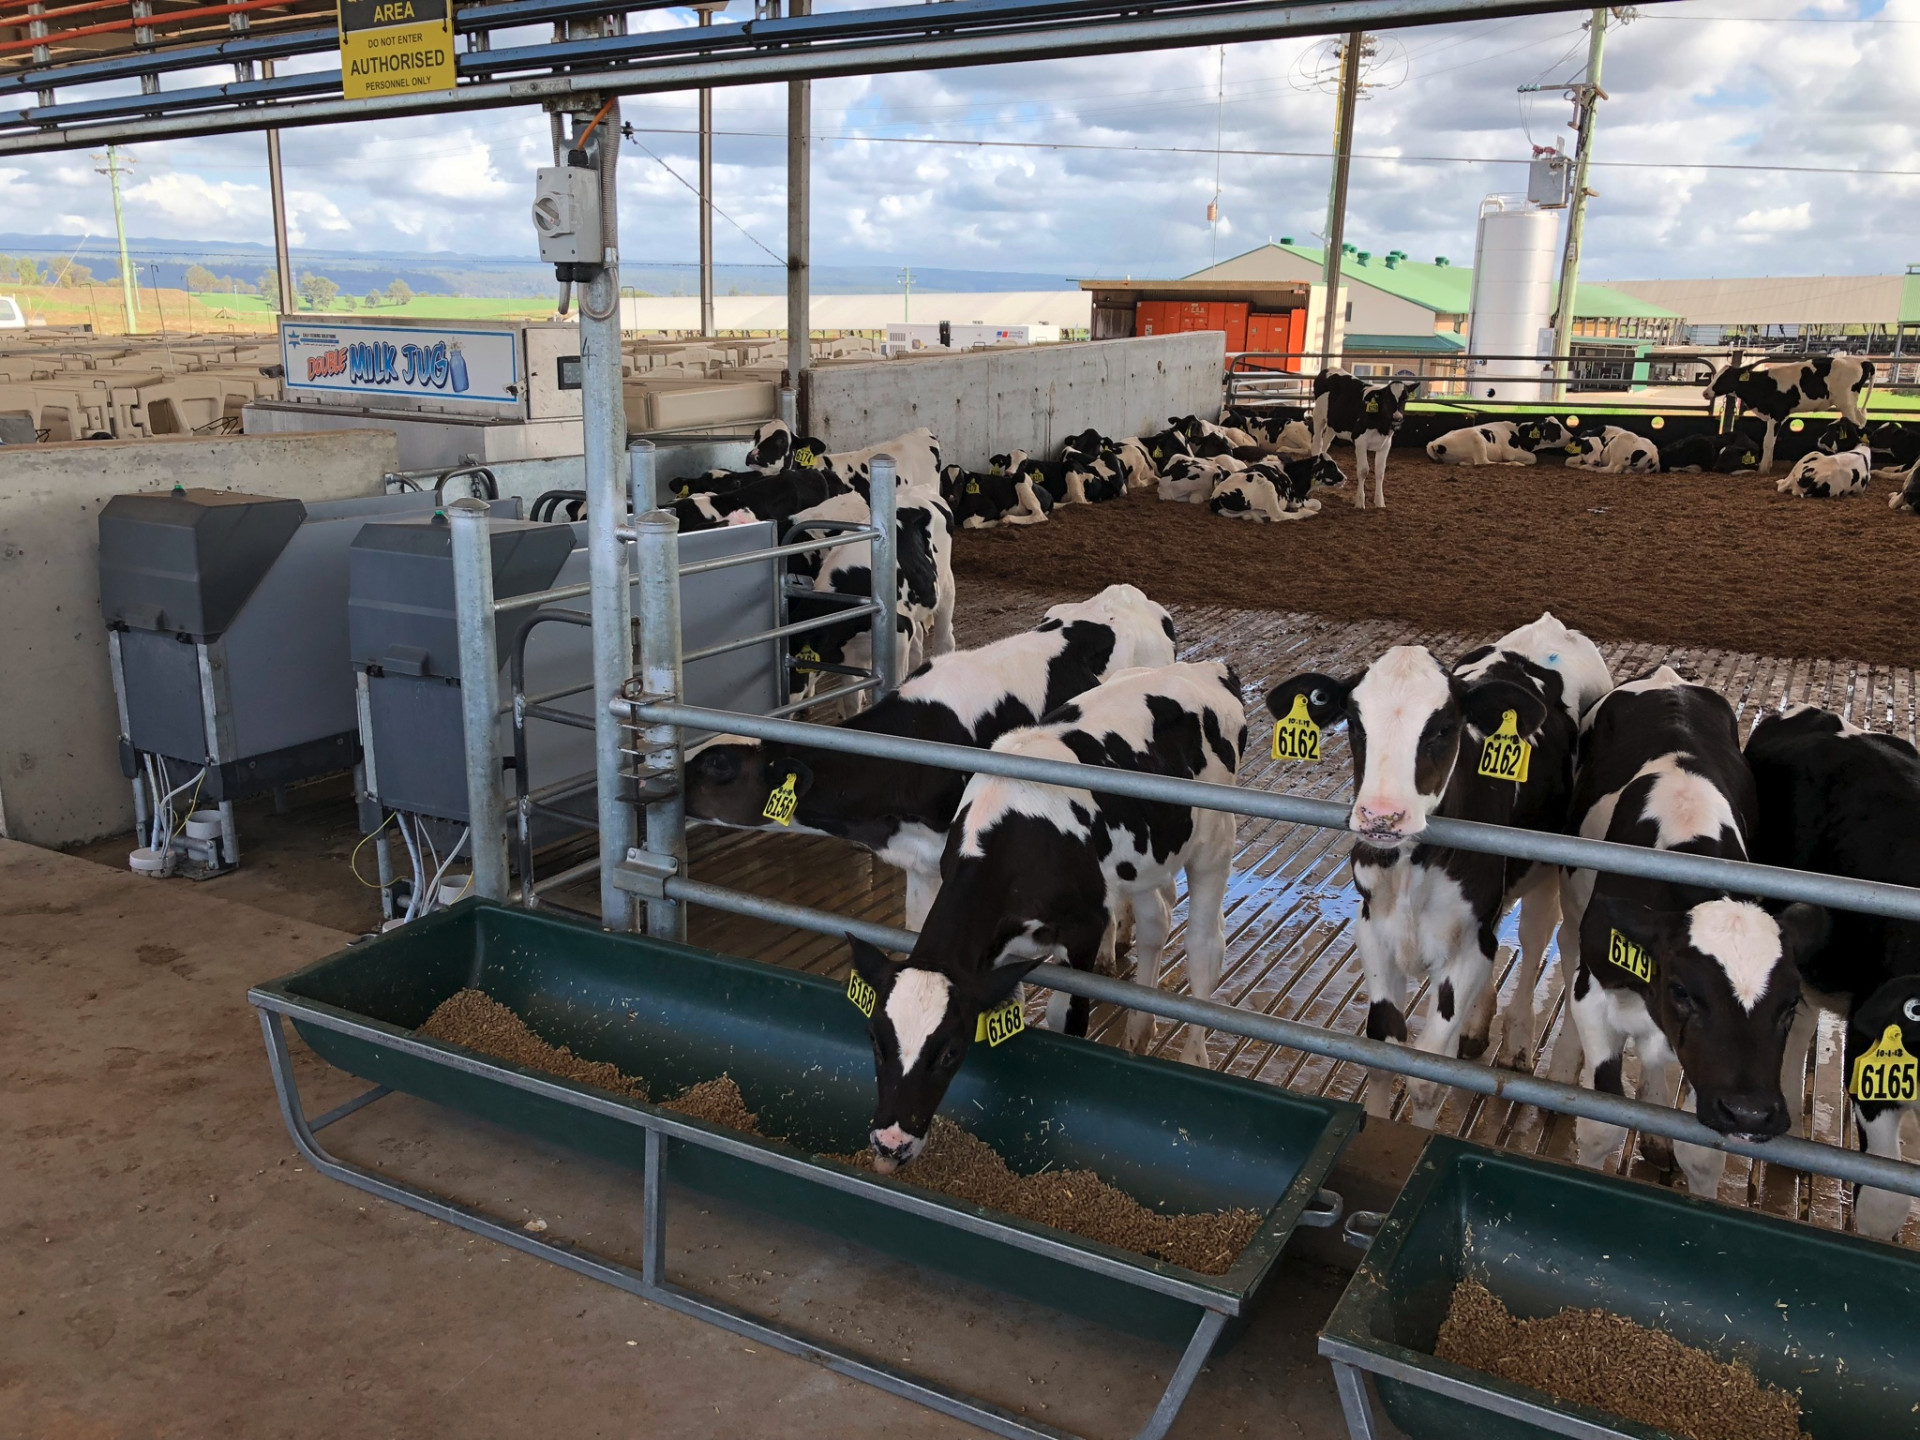
3. Plan the right group size
Even if a HygieneStation can easily provide between 20 and 30 calves with milk, you should consider how many calves you wish to keep in a group depending on your farm.
The general rule is: The smaller the group, the lower the risk of disease transmission. However, the following also applies: the smaller the group, the greater the space requirement and the workload.
The ideal age difference in a group of calves would be 2-3 weeks. The number of calvings per week therefore determines how many calves are actually kept in one group.
Of course, it may not be possible to maintain this age difference if not enough calves are born and the feeding stations need to be used to good effect. Then the rule of thumb is: the greater the age difference, the smaller the group. This ensures that younger calves also have their rights and can visit the HygieneStation without being disturbed.
Even if other parameters, such as the amount of feed or the use of QuadroFlex, play a role, you can still work more or less using the following recommendation for group size:
| Age differential in a group | Maximum no. of calves in a group |
|---|---|
| 2 – 3 weeks | 25 – 30 calves |
| 4 – 6 weeks | 20 – 25 calves |
| 7 – 10 weeks | 15 – 20 calves |
Two or more HygieneStations in a calf pen give the calves a choice and they are able to choose a free station in case another one is occupied. You can therefore keep a few more calves per station in such situations.

4. Planning the allocation of calf groups
We assume that calves are not introduced to the feeder immediately after birth, but only after a 2-3 week phase in individual or small group hutches.
Calves should remain in their familiar environment for at least one week being weaned off milk before they are re-housed. Time should then be allowed for mucking out, cleaning and disinfecting.
The following table provides information on planning the allocation of calf groups:
Table 1: Allocation plan of a CalfExpert with 4 HygieneStations with a feeding period of 10 or 12 weeks
| Age of calves (week of life LW) | Pen 1 | Pen 1 | Pen 1 | Pen 2 | Pen 2 | Pen 2 | Pen 3 | Pen 3 | Pen 3 | Pen 4 | Pen 4 | Pen 4 |
|---|---|---|---|---|---|---|---|---|---|---|---|---|
| Feeding 10 weeks | 3. LW | 4. LW | 5. LW | 6. LW | 7. LW | 8. LW | 9. LW | 10. LW | 11. LW weaned | Left pen | Cleaned | empty |
| Feeding 12 weeks | 4. LW | 5. LW | 6. LW | 7. LW | 8. LW | 9. LW | 10. LW | 11. LW | 12. LW | 13. LW weaned | Left pen | Cleaned |
The time for cleaning is somewhat limited when feeding up to the 12th LW. We therefore recommend that these calves are only introduced to the feeder after 3 weeks.
If fewer HygieneStations are used, i.e. there are also fewer groups, the age differences in the groups will inevitably be greater (see point 3.).
5. Professional installation by an H&L service partner
The CalfExpert must always be installed by a qualified service technician from a Holm & Laue service partner. He is responsible for the proper installation of the calf feeder and the HygieneStations. The installation also includes connecting the individual elements of the CalfExpert (HygieneStation display, alarm lights, whole milk tanks etc.) as well as connecting the CalfExpert Wi-Fi to the farm's own network and calibrating the calf feeder.
After calibration, you will perform a general function check with the technician. Let the technician show you how you can easily do this yourself.
You should pay attention to the following points:
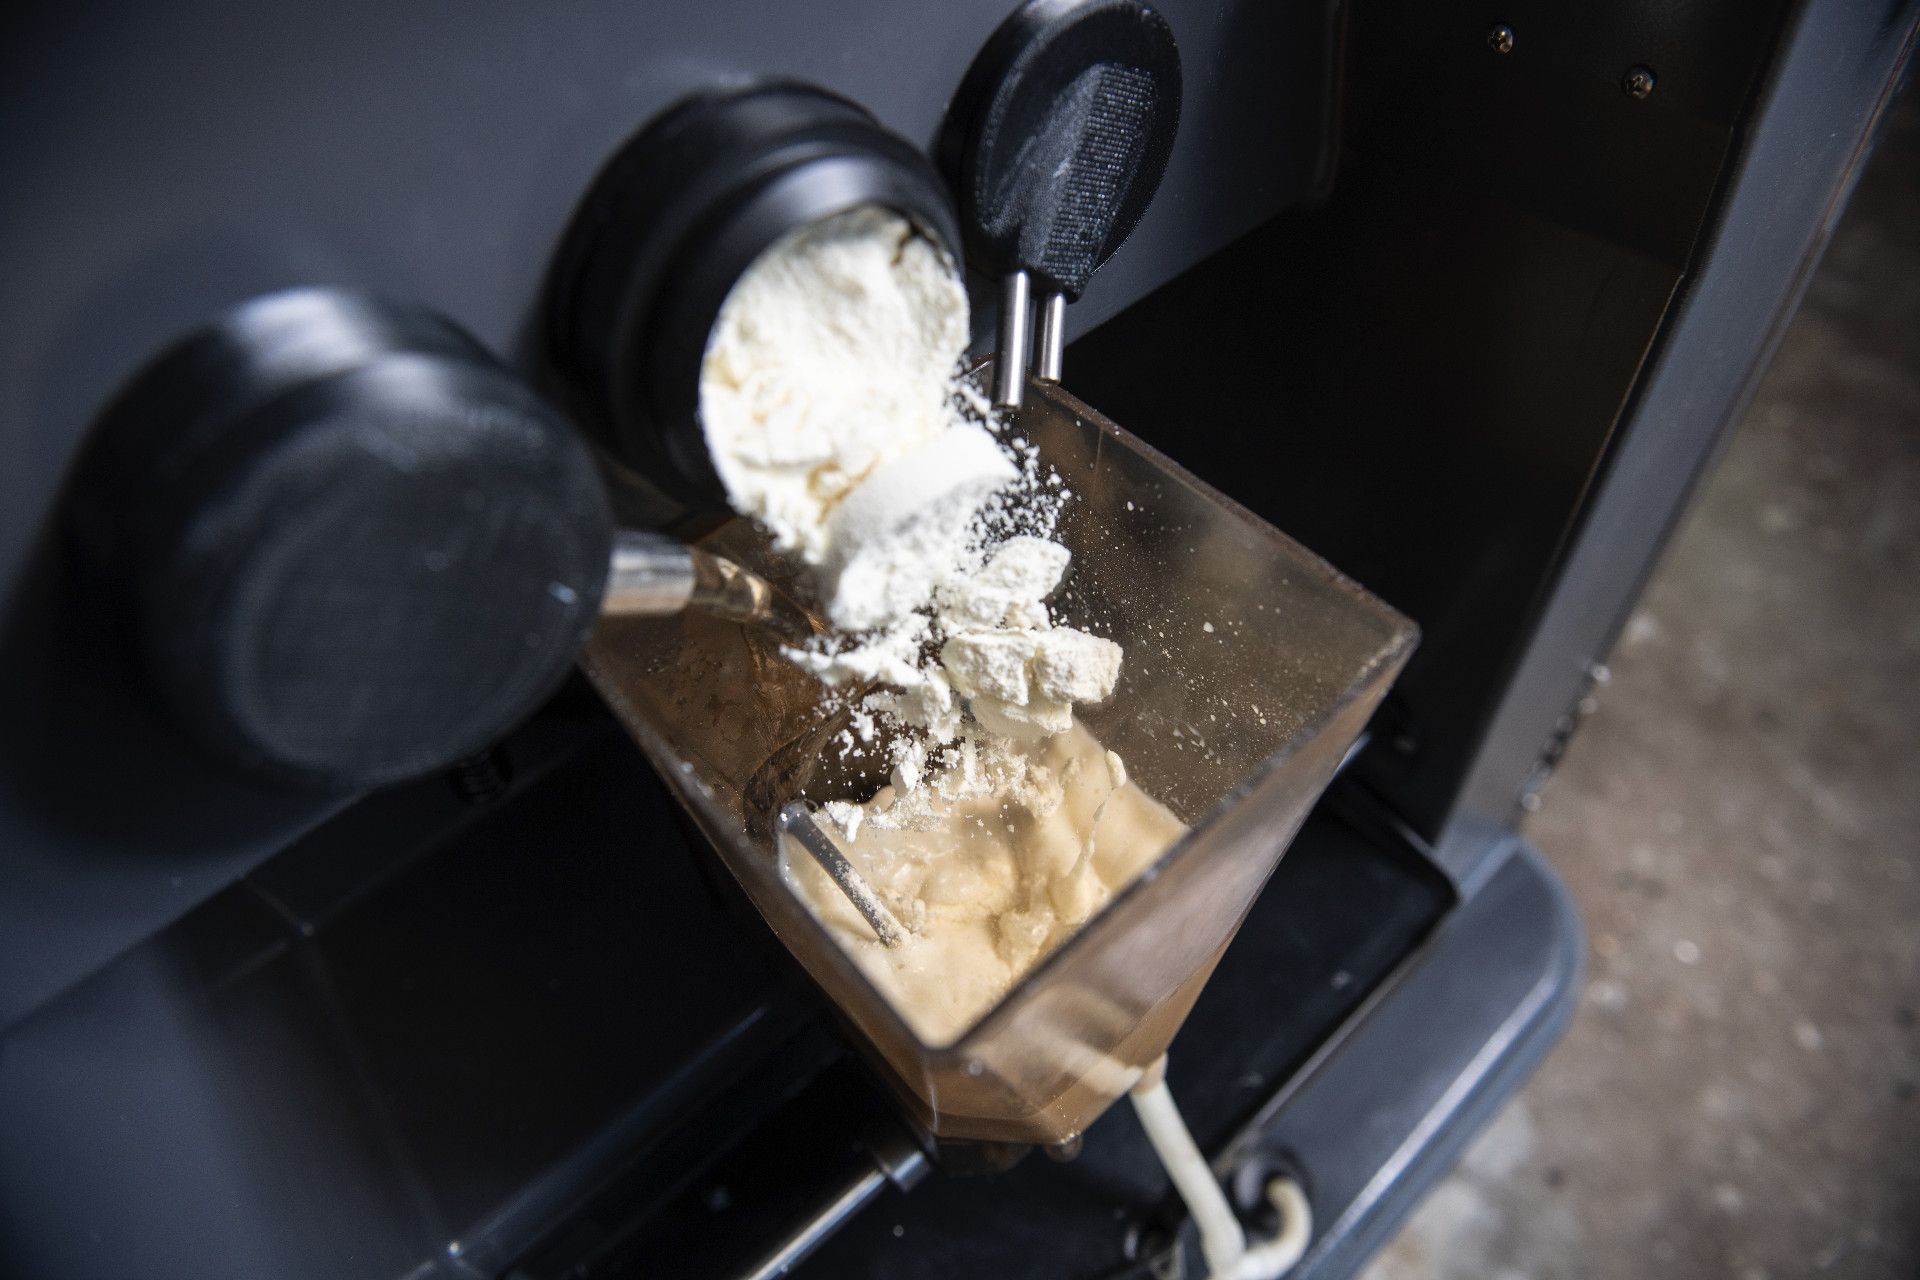
- Good mixing result in the PowerMixer
- Reliable drawing of the milk to the HygieneStations up to just behind the teat valve
- No air suction noise when pumping milk/water to the HygieneStation
- Reliable dosage of feed additives and cleaning agents
- Correct recognition of the transponders
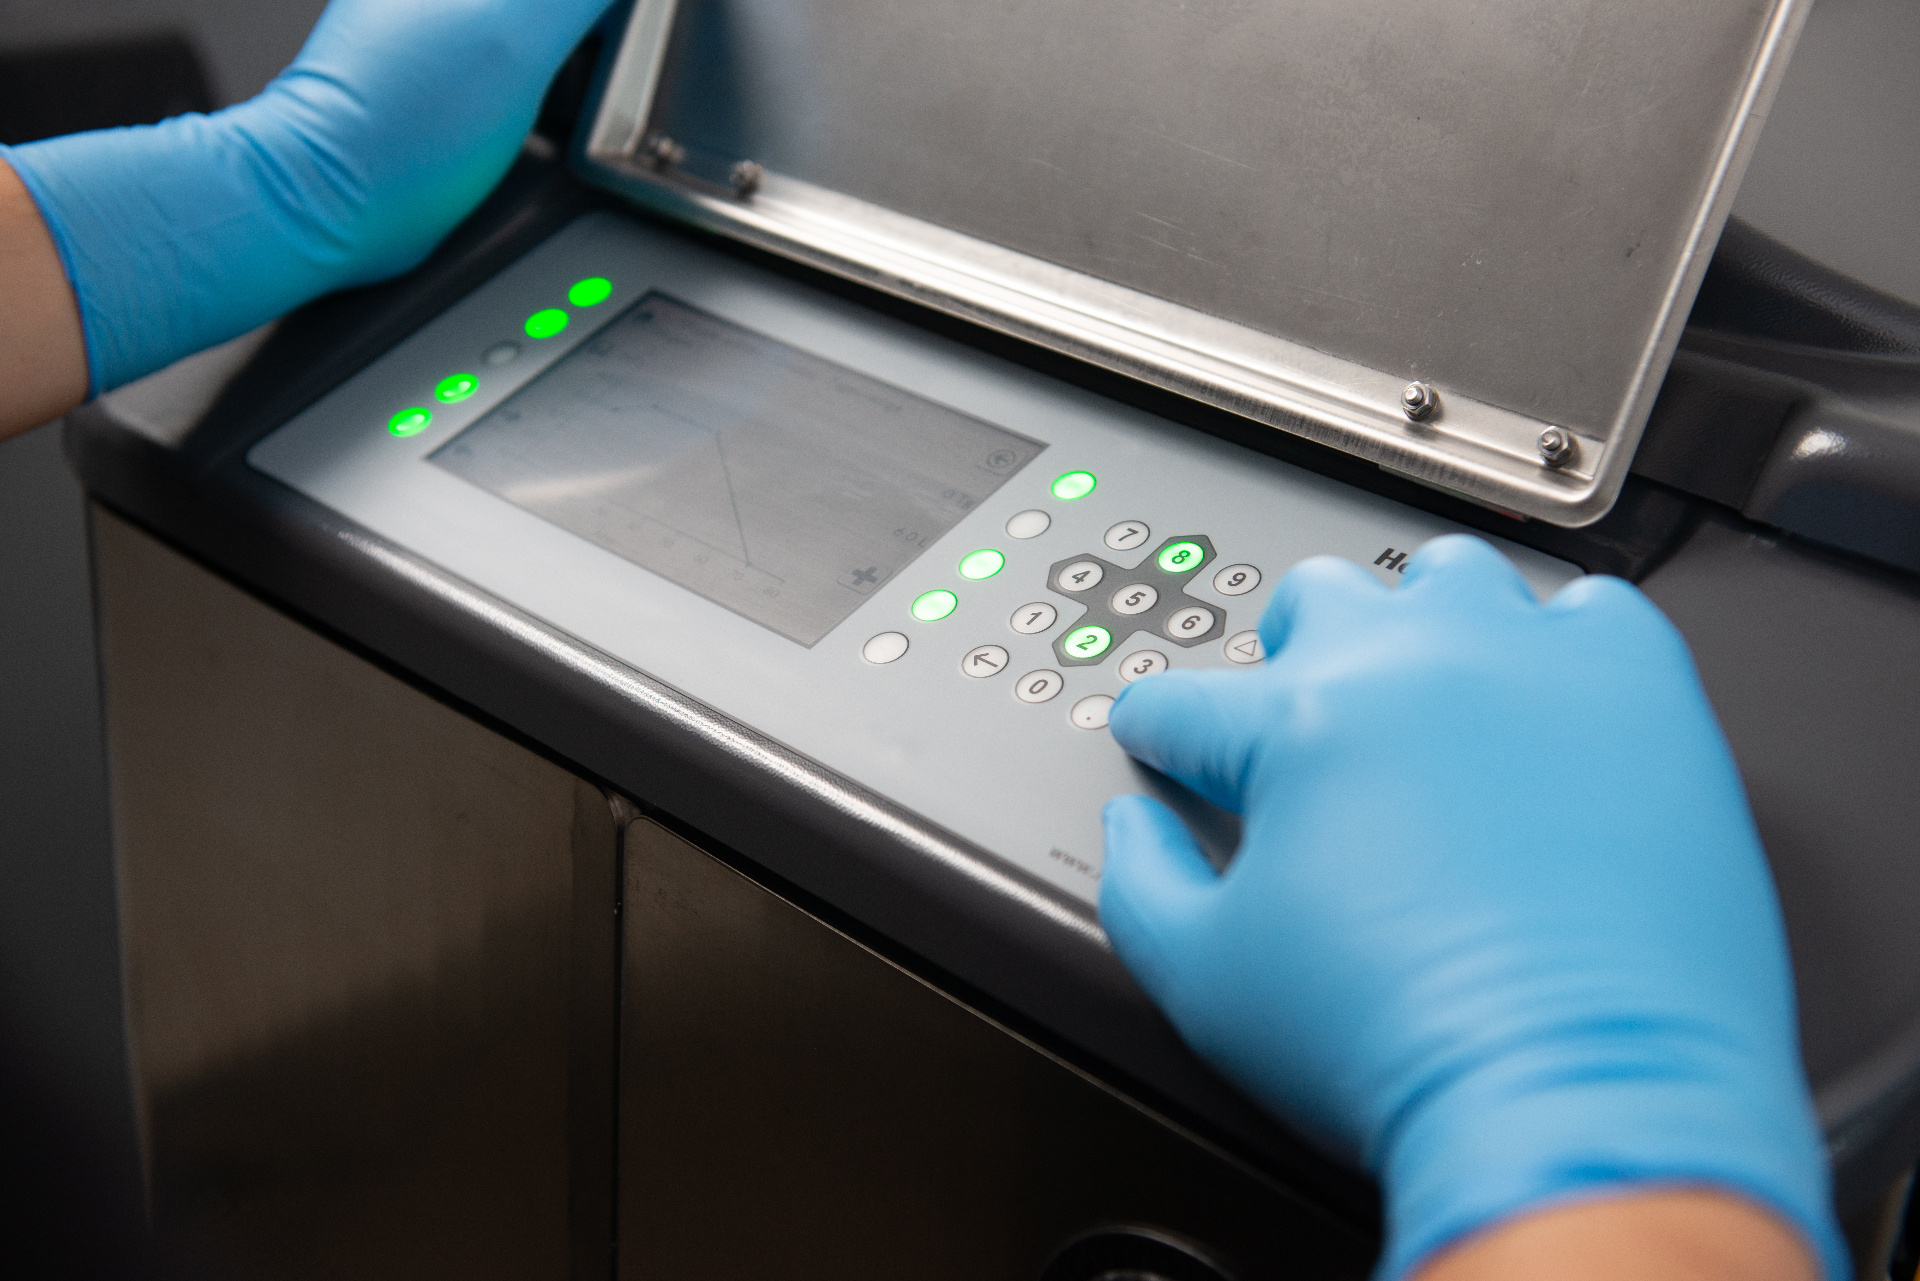
6. Calibration of the calf feeder
CAUTION: The calf feeder cannot feed optimally without proper calibration.
The service technician will perform a calibration following installation. We recommend that you, the user, be present during this calibration so that you can perform it yourself subsequently. The calibration procedure is described in detail in the CalfExpert menu.
Please ensure that you have the following ready for the calibration process:
- Digital scales with an accuracy of +/- 2 g
- A container with a capacity of approx. 3 l
- A length of hose (approx. 20 cm) with an internal diameter of 12 mm (for discharging quantities of liquid from the water outlet into the container).
Perform calibration for all specified options. It is recommended to repeat the calibration process 2-3 times and then enter the average of all measurements as the new calibration value.
Perform calibration again after approx. 4 weeks, as the values of the dosing quantities may change after a certain period. We recommend that you repeat the calibration every 4 months thereafter.
Unscheduled calibration is always necessary when
- The type of feed (for example, milk replacer or additive) is changed.
- Water pressure changes significantly, for example due to construction work.
- The CalfExpert and its components (HygieneStations etc.) are moved or changed.

7. Setting the feeding curve
Set your desired feeding curves after consulting your feed advisor.
You should observe the following basic rules when adjusting the settings:
- Always feed sufficient milk.
You should assume 12-15 % of body weight as the minimum quantity required. This means that a calf with a body weight of 50 kg should not be fed less than 6 l of milk per day. Satisfactory growth rates and better health can be achieved with more milk (approx. 15-20 % of body weight). You can start reducing the amount of feed in small steps after about 6 weeks. We recommend feeding calves with milk until they are 10-12 weeks old.
- Do not feed too little or too much milk in one meal.
Feed at least 1.5–2 litres of milk per meal. Calves will not be full and will not have their suckling needs satisfied if the quantities per visit are low. This can lead to unease and reciprocal suckling. Also make sure that all quantities are about the same on visit:
- Good distribution: Daily quantity: 8 l, quantity per visit 2 l; this means 4 visits of 2 l each.
- Poor distribution: Daily quantity: 8 l, quantity per visit 2.5 l; this means 3 visits with 2.5 l and one visit with 0.5 l.
Limit the milk intake to a maximum of 2 litres for young calves (up to the age of 4 weeks) and to a maximum of 3–4 litres for older calves (from the age of 5 weeks at the earliest).
- Avoid concentrations of milk replacer that are too low or too high.
If you feed less than 120 g CMR/l, there is a risk of digestive problems because the protein does not coagulate well in the abomasum. At concentrations above 160 g/l, some milk replacers may not dissolve well or excessive osmolarity in the mixed milk may cause inflammation in the gastrointestinal mucosa. Optimum concentrations of feed are between 130 g/l and 150 g/l.
Important: Please note that the CMR concentration you set on the CalfExpert refers to ready-mixed milk. A setting of 150 g CMR concentration means 15 % DM of the milk mixture.
- Ensure optimum feed temperature.
You can set the feed temperature in CalfExpert for each group separately. Temperatures of 37–40 °C are ideal. Use a digital thermometer to check the mixing temperature in the PowerMixer. Any deviations may indicate that the calibration is incorrect. Please repeat the calibration process.
- Avoid major changes to the feeding program.
Calves are creatures of habit. Changes to he amount and composition of their feed should always be made slowly. This is especially true when calves are converted from whole milk to milk replacer, for example. The changeover from one feed to the other should take about a week, preferably 10 days, so that the calves' digestive system can adjust to the new ingredients.

8. Training calves
After installation and calibration, you can introduce the first calves to the feeder. Generally speaking, the following applies: Calves that have been bucket-fed for 4 weeks or more learn to drink from the feeder relatively slowly. An increased level of effort must therefore be expected with older calves. Decide for yourself whether you wish to make this effort or simply continue to feed these calves from a bucket.
Young calves quickly learn to feed at the HygieneStation. This is how you train the calves at the HygieneStation:
- Lead the calf into the station by letting the calf suckle on your finger (important: wear new latex gloves). Guide the mouth to the teat and remove your hand as soon as the calf starts sucking on the teat. At this moment, the CalfExpert has already mixed milk and delivered it to the HygieneStation.
- Calves usually move the teat. When a calf lifts the teat, the CalfExpert sprays a small amount of milk into the calf's mouth, encouraging it to drink. If this does not happen, you can start this process manually by pressing the button on top of the HygieneStation.
- As soon as the calf has started to drink reliably, move a step away and watch the calf. Teach it again if it loses the teat or stops drinking.
- Make sure that the calf gets the full amount it is entitled to per visit at its first feed.
- Once the calf is engaged in drinking, you can fetch the next calf and introduce it to the HygieneStation. You can view all calves with their current feeding entitlement on the display of the feeder, in the CalfGuide app or on the display of the HygieneStation.
How often should you train calves?
The general rule is: The more often you bring the calves to the station, the longer it will take for them to use the station reliably on their own. The calves see you as a person then as an indicator: "There's milk now!" So make yourself scarce. A second training session after 12 hours should be enough to familiarise the calves with the technique in 80% of cases. Most calves copy their drinking habit from the other calves.

9. Cleaning and maintenance
High standards of hygiene must be maintained, particularly when feeding milk to calves. Pathogens in the milk multiply rapidly. Germ levels can double every 20 minutes under certain conditions.
All parts in the CalfExpert that come into contact with milk, right through to the HygieneStation, are cleaned thoroughly. Even the teat is sprayed with water from the outside after each visit to remove saliva residue. Many farms change teats daily and also disinfect it thoroughly. This is quickly done thanks to easy assembly.
Various cleaning parameters can be set in the menu. Two different cleaning agents (acidic and alkaline) are used. The alkaline cleaner ensures perfect cleanliness and hygiene and should be used primarily. The acidic cleaner dissolves lime scale and hence improves the cleaning result. The operating instructions contain detailed information on how to set the cleaning intervals.
It is essential to check cleaning results on a daily basis. If necessary, you should perform additional manual cleaning or adjust the cleaning parameters. It is also advisable to rinse the saliva bowl of the HygieneStation with a water hose if there are any major milk residues, straw or the like in it.
In addition to checking the cleaning, we also recommend daily technical checks on the CalfExpert. Worn parts, such as teats or suction tubes, must be replaced if they are deformed, damaged or even dirty and can no longer be cleaned by the CalfExpert's normal cleaning program.
We recommend that you have your CalfExpert feeder fully serviced by an authorised Holm & Laue service partner at least once a year.
")
10. Animal checks and interpreting alarm lists
Since the calf feeder saves a lot of work in the calf pen, you don't see the calves as often as you do feeding in the traditional using buckets. It is therefore worth investing some of the time saved observing and checking the health of your calves.
CalfExpert will assist you with its alarm lists in the menu. It works with various alarm parameters:
- Reduced feed intake
- Weight loss
- Time since the previous visit
- Decreasing speed of feeding
- Number of aborted visits
Conspicuous negative deviations are highlighted in red on the display. You can set the corresponding alarm thresholds yourself in the menu.
Instead of immediately focusing on individual calves, it first makes sense to get a picture of the entire herd in the general calf feeder overview. The CalfExpert displays a summary of information for the whole herd and compares it with the last 5 days (e.g. percentage of drinking, CMR consumption, average drinking rate, aborted visits etc.). After this general overview, you can then drill down to the data for individual calves.
The wide range of alarm parameters, the availability of all information via the CalfGuide app and the constant updating of calf information encourage you to look at the calf lists very often. This can be time-consuming and stressful for everyone involved. We generally recommend checking on your calves at least twice a day.
A check of the electronic lists should always be accompanied by a visual check on the calves. There is no substitute for a visit to the calf barn. We also advise you to go into the pen so that the calves have to stand up for a short time, because usually you cannot see from the feeding table whether there is diarrhoea excrement stuck to the calves rears or whether their breathing is shallow or they are even coughing.
Checking the calves too often induces you to lead the calves to the station more often than is necessary. As a result, the calves come to associate the person checking on them with a wet nurse and they then rely on the human as a trigger to go to the feeding station (as already described under 8. "Training calves").
However, more frequent care may of course be necessary for very sick animals. This is where we appeal to the duty of care that every farmer has towards their animals.

You will have a lot of fun with your new feeder if you consider these 10 points before and during initial operation of your CalfExpert. Be sure to seek detailed advice and ask your Holm & Laue sales partner questions at any time, even after installation, so that you can become better and better at calf rearing.